
EDIT Aug 2015:
There is a revised free pattern on craftsy for this Pouch incl. a template.
Es gibt eine überarbeitete freie Anleitung mit Vorlage für dieses Mäppchen auf Craftsy auch auf Deutsch :).
Well, finally I made some pictures to show you how I make the sleeping bag pouch. A big thank you to my daughter who urgently needed a new pouch on a sunday evening 5 minutes before MY Tatort (a German thriller) started. Ok, it was kind of challenging what she tried to explain to me - one szipper around, looks like a sleeping bag, you can see all of your pencils... I understood nothing so we looked up the www and we found the pencil case she saw somewhere (the top left). I though over it and then started to draw a pattern.
Nun habe ich endlich geschafft, Euch Bilder von dem Schlafsäckchen Mäppchen zu zeigen. Ein großes Danke Schön geht hier an meine Tochter, die unbedingt und ganz dringend ein Mäppchen am Sonntag Abend fünf Minuten vor dem "Tatort" brauchte. Das war echt eine Herausforderung als sie versuchte, mir zu erklären, wie das Ding auszusehen hat... ein Reißverschluss rundherum, sieht aus wie ein Schlafsack, du kannst alles Stifte auf einmal sehen... ich verstand gar nichts. Also rein ins WWW auf der Suche nach diesem Mäppchen... wir haben es auch gefunden und so konnte ich es mir genauer anschauen und eine Anleitung zeichnen.
There is a revised free pattern on craftsy for this Pouch incl. a template.
Es gibt eine überarbeitete freie Anleitung mit Vorlage für dieses Mäppchen auf Craftsy auch auf Deutsch :).
Well, finally I made some pictures to show you how I make the sleeping bag pouch. A big thank you to my daughter who urgently needed a new pouch on a sunday evening 5 minutes before MY Tatort (a German thriller) started. Ok, it was kind of challenging what she tried to explain to me - one szipper around, looks like a sleeping bag, you can see all of your pencils... I understood nothing so we looked up the www and we found the pencil case she saw somewhere (the top left). I though over it and then started to draw a pattern.
Nun habe ich endlich geschafft, Euch Bilder von dem Schlafsäckchen Mäppchen zu zeigen. Ein großes Danke Schön geht hier an meine Tochter, die unbedingt und ganz dringend ein Mäppchen am Sonntag Abend fünf Minuten vor dem "Tatort" brauchte. Das war echt eine Herausforderung als sie versuchte, mir zu erklären, wie das Ding auszusehen hat... ein Reißverschluss rundherum, sieht aus wie ein Schlafsack, du kannst alles Stifte auf einmal sehen... ich verstand gar nichts. Also rein ins WWW auf der Suche nach diesem Mäppchen... wir haben es auch gefunden und so konnte ich es mir genauer anschauen und eine Anleitung zeichnen.

The first try was too large so I changed the pattern again and again and now I think it has the pefect size for me and my girl ;-).
Der erste Versuch war zu groß, also habe ich die Vorlage geändert und geändert, bis ich die richtige Größe laut meiner Tochter hatte ;-).


2 fabrics 9 x 10 Inch OR
1 endless zipper 26-28 inch
1 zipper end
alternative 1 "normal" zipper 20 inch - take it longer to make it more easy
fusible interface 9 x 10 inch (I use Vliseline H640 from Freudenberg)
of course paper, scissors, ruler, cutter, pen (I love Frixon)


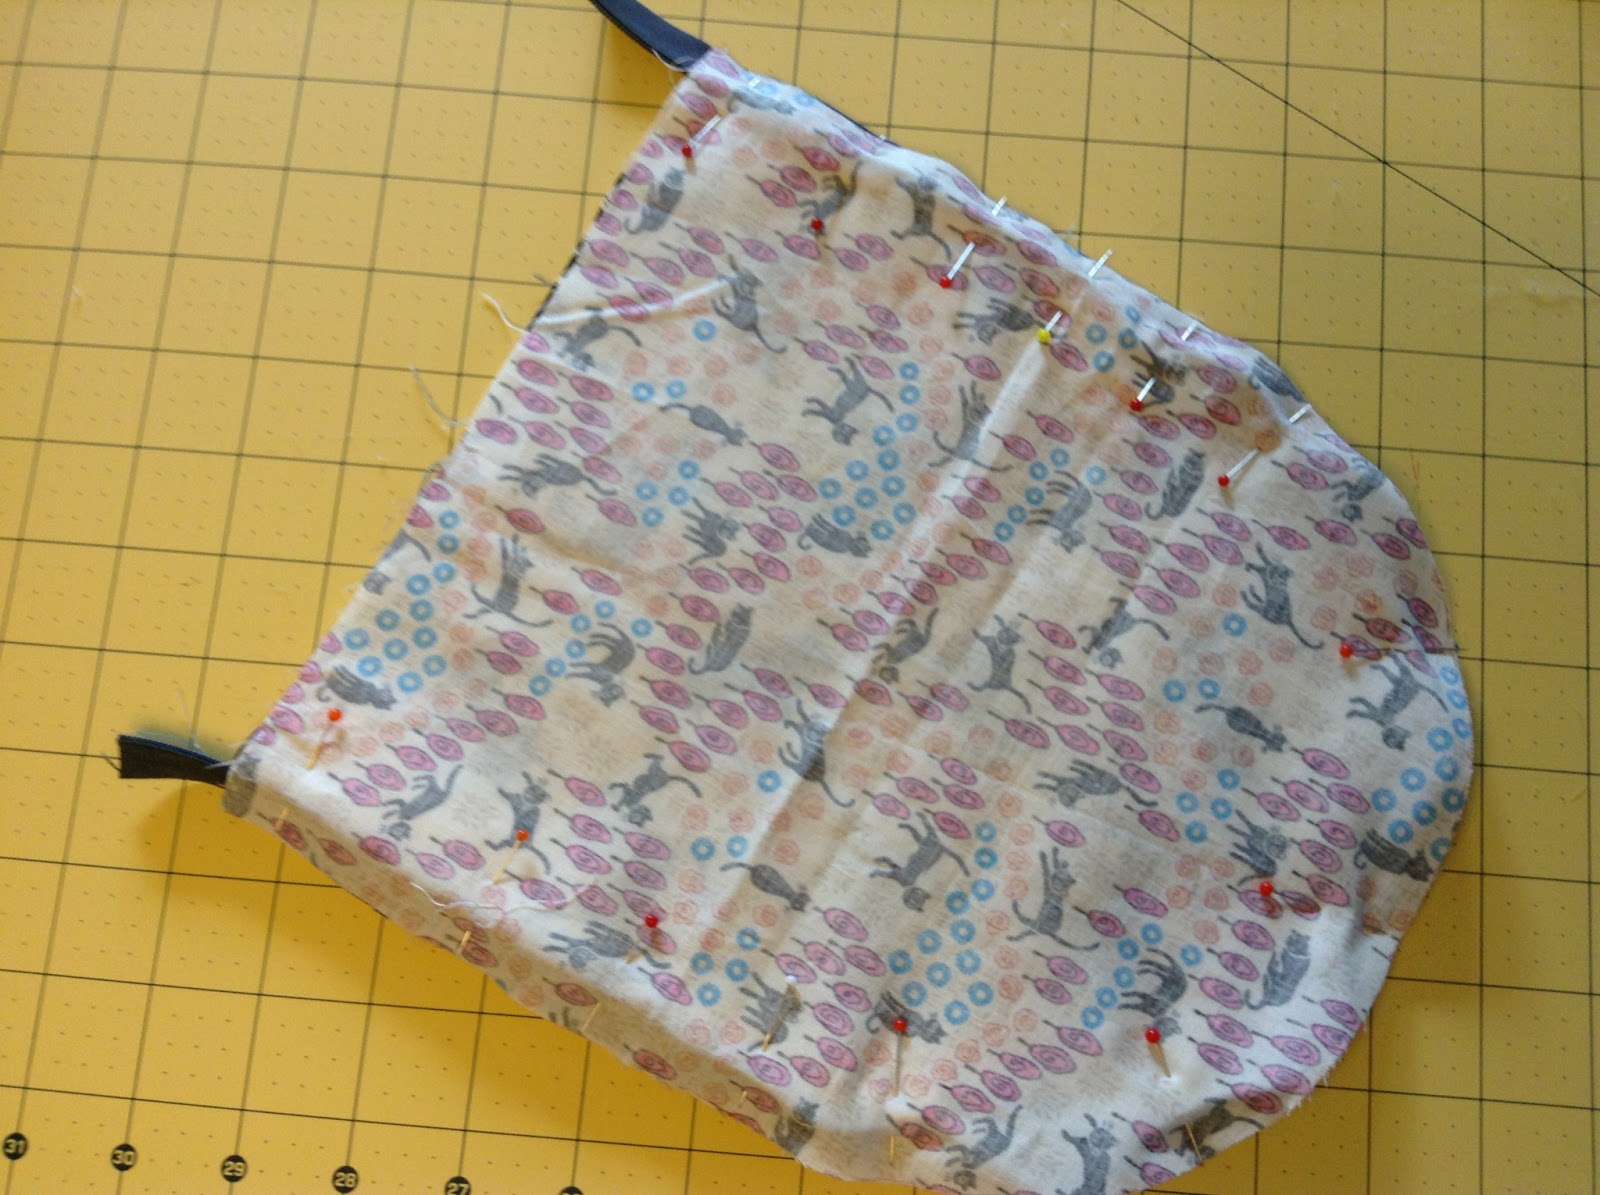
...but now I will only show the endless zipper - it is much easier to handle. I pin the zipper only at two or three places but please do your way. The zipper should be hanging at the ends about 1,5 inch to put in the zipper-end. I sew the zipper first on the exterior fabric, so it makes it easier to sew the lining on it. Please be caution to place the zipper right - the good side has to look down on the fabric!!! :




Now you will place the zipper-end - some of you maybe can do that alone - not me... I need one more hand here:

So you are almost finished. Turn the pouch again back to the lining side to sew the end together. You can use a zig zag scisser at the end, but I like it more to make my own bias tape from the lining fabric (ap. 1,25*5,5 inch). Iron it doulbe as a bias tape and sew it on the end:
Edit (Nov 2014): I skip the step with the bias tape nowadays and only end with zig-zag to fix the bottom...


That´s it - thank you so much for following my tutorial :)
Aylin...
Edit Nov 2014: I opened a new linky to see all our lovely sleepingbag pouches..... Ich habe eine Linky eingerichtet, damit wir alle unsere süßen Schlafsäckchenmäppchen sehen können.
