Showing posts with label tutorial. Show all posts

Sunday, January 12, 2014

Flying Geese in an Arc / FG im Bogen - A Tutorial


http://www.flickr.com/photos/nilya2011/8085538679/in/set-72157627673899575/
For a swap last year I made a tote with flying geese in an arc. I made my drawing and asked my partner, if she would like it. Oh my, the reactions were so many and so intimidating, that I was afraid, I could have chosen an impossible pattern. Though I had never made flying geese before, but I thought: it´s paper piecing and curves ;-).

Für einen Swap im letzten Jahr habe ich einen Beutel mit Flying Geese im Bogen genäht. Ich hatte mir eine Zeichnung für meinen Partner gemalt und gefragt, ob sie das mögen könnte. Auweia, die Reaktionen waren so viele und so einschüchternd, dass ich Angst hatte, ein unmögliches Muster gewählt zu haben. Wo ich noch dazu noch nie Flying Geese genäht hatte, aber ich dachte: es ist doch paper piecing mit Kurven ;-).

This was my first drawing:
Das war meine Zeichnung:
http://www.flickr.com/photos/nilya2011/8027454586/in/set-72157627673899575
I started to draw my pp-pattern inspired by a mug rug I got in another swap from Leanne - she can quilt - it´s one of my favorites for ever. And it went very well. Only I had chosen real linen which made the sewing a bit more complicating and I had made my small pattern a bit to large for a tote, but I think, the design on the bag is more interesting now.


Inspirierst war ich durch den mug rug, den ich in einem anderen Swap von Leanne - She can quilt bekommen hatte - eines meiner All-Time Favorites. Also habe ich meine pp-Vorlage gezeichnet und es hat ganz gut geklappt. Die Vorlage war zwar klein, aber ein wenig zu groß für den Beutel und das Leinen war viel zu dick, aber die Tasche ist toll geworden und hat nun ein interessantes Design.
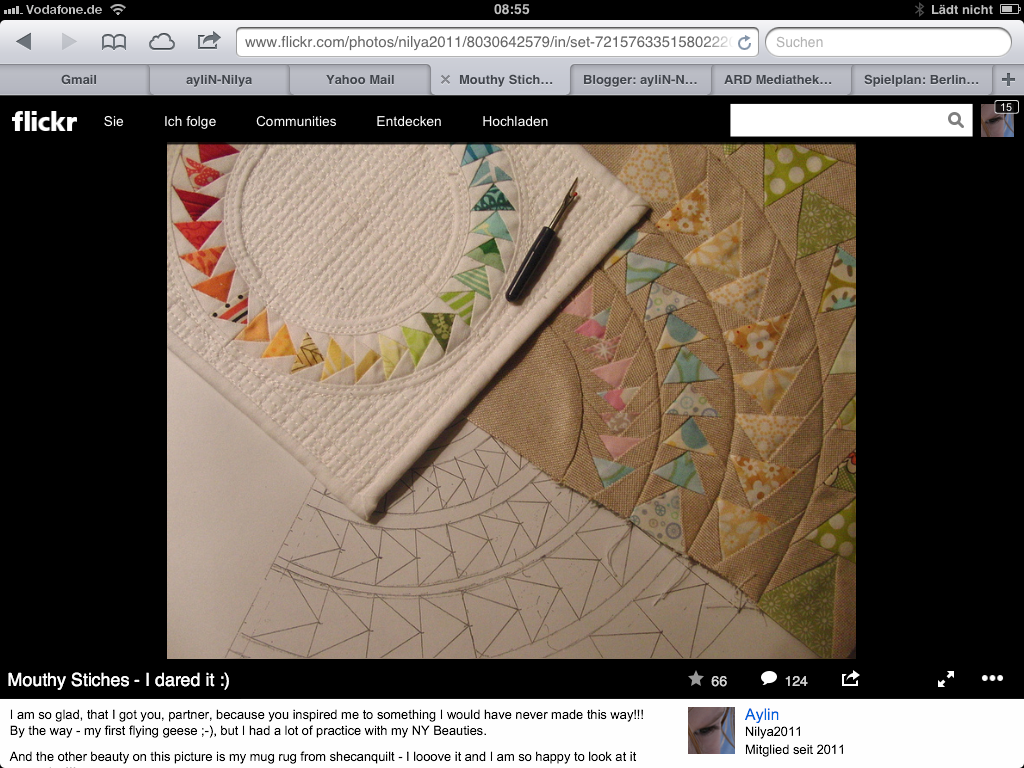
http://www.flickr.com/photos/nilya2011/8030642579/in/set-72157627673899575/
I was asked of some flickr-friends how I made my pattern, so I decided to write it down for you.


Einige Flickr-Freunde haben mich gefragt, wie ich die Vorlage gemacht habe, also habe ich endlich beschlossen, es für euch aufzuschreiben.

You have to  know the size of your block. Mine will be 7 inch large and there will be one arc places at 4,5-6 inch.


Erstmal brauchst du die Größe deines Blocks. Meiner wird hier 7 Inch groß und die Flying Geese werden zwischen 4,5 und 6 Inch fliegen.


This is what you need:
Das brauchst du:
Chose a point near the right down corner of the paper and draw a horizontal and vertical line through your point.


Suche dir einen Punkt in der rechten unteren Ecke des Papiers und zeichne eine horizontale und vertikale Linie durch diesen Punkt.
We start with the arc. My arc will be 4.5 to 6 inch on this line. So open the compass to 6 inch and draw a quarter of a circle from the point you marked and draw another quarter of a circle with the compass opened to 4.5 inch.


Wir starten mit dem Bogen. Meiner geht von 4,5 bis 6 Inch auf der Linie. Öffne Deinen Zirkel auf 6 Inch und zeichne einen Viertelkreis ausgehend von dem Punkt, den du vorhin markiert hast und zeichne noch einen Viertelkreis mit 4,5 Inch.
Now draw a line between the points of the 4.5 circle (A to B) and mark the middle.

Nun zeichne eine Linie zwischen den Schnittpunkten des 4,5 Inch Viertelkreises und den äußeren Linien (AB) und markiere die Mitte dieser Strecke.
Draw a vertical line through the middle point until the 6 inch circle. Do the same from point C to B and so on, untill you reached the amount of flying geese you wish in your arc.

Durch diesen Punkt zeichnest du eine vertikale Linie (rechtwinklig) bis zum 6 Inch Viertelkreis. Dies Wiederholst du von Punkt C bis B und so weiter, bis du genug Felder für Deine Flying Geese eingezeichnet hast. 
Now mark the middle of the lnies in your arc, these will be the points of your flying geese triangles.

Nun markierst du die Mitte der Linien zwischen den beiden Viertelkreisen und Verbindest dann die Ecken und die Markierung miteinander, um die Dreiecke zu erhalten.
Add the 1/4 inch seam allowance with your compass and your ruler. Copy your patter 4 times for a full circle.

Ergänze die 1/4 Inch Nahtzugabe mit dem Zirkel und dem Lineal und kopiere das ganze 4 mal für einen ganzen Kreis.
To finish your block you need the inner circle and the outer ring.

Um Deinen Block zu vollenden, brauchst du noch den inneren Viertelkreis und den äußeren Ring.

Here some maths for this block:
Hier ein wenig Mathe für den Block:


Inner quarter of a circle:
Innerer Viertelkreis:

sewing line is at 4.5 inch -  Linie, auf der genäht wird
cutting line is at 4.75 Inch - Linie, auf der ausgeschnitten wird 


The arc:
Der Bogen:
Sewin lines are at 4.5 and 6 inch-  Linie, auf der genäht wird
cutting lines are at 4.25 and 6.25 inch - Linie, auf der ausgeschnitten wird 


The outer ring:
Der äußere Ring:
sewing line is at 6 inch-  Linie, auf der genäht wird
cutting line is at 5.75 inch  - Linie, auf der ausgeschnitten wird 


In our case you can use the samte point to put your compass and draw both parts on onepage, because there is a space in between for the flying geese part. I you only draw an drunkhards path, you need more space, because the parts overlap.

In unserem Fall können wir den gleichen Ausgangspunkt für den Zirkel für den Äußeren Ring und für den inneren Viertelkreis nutzen, da wir für den Bogen dazwischen Platz haben. In einem normalen Drunkhards Path würden sich die Teile sonst überschneiden und man bräuchte mehr Platz.

Hope I did not forget anything important. So have fun making your own pattern :).


Hoffe, ich habe nichts wichtiges vergessen. Dann viel Spaß mit deiner eigenen Vorlage :).


Aylin


Friday, December 20, 2013

Playing with Oakshotts


This time I´m the lucky one who got the chance to make something beautiful with a F8-bundle from Oakshotts called Italy. Thank you so much Lynne - Lily´s Quilt, that I can be a guest on your blog today :).

Dieses Mal bin ich die Glückliche, die mit einem Fat-Eight-Päckchen von Oakshott Stoffen der Serie Italy rumspielen darf. Vielen lieben Dank  Lynne - Lily´s Quilt, dass ich heute Gast auf Deinem Blog sein kann :).

When I saw these shimmering colors I knew exactly what I wanted to do with them: a traditional block called spiderlegs in a modern way with text-fabric in the center framed with these wonderful soft colored Oakshotts. I was so excited to get the fabric bundle!

Als ich die schimmernden Farben sah, wusste ich genau, was ich machen wollten: einen traditionellen Block, der auch Spiderlegs - Spinnenbeine genannt wird. Ich wollte ihn modern interpretieren mit Textstoffen als Spinnenbeine und Oakshotts als Rahmen. Ich war schon ein wenig aufgeregt, da ich noch nie Oakshotts in der Hand hatte - sehr weich und viel dünner als ich erwartet habe.
Madrona Road for the binding...

Cosy backside


Here is my way to make spiderlegs-blocks:

Und hier, wie ihr Spiderlegs nähen könnt:
If you use a F8 like me, you have to cut very carefully, because you will need all your fabric and this is the way you are going to cut:

Wenn ihr auch Fat Eights benutzt, dann müsst ihr echt vorsichtig zuschneiden, da ihr nahezu den gesamten Stoff braucht:
For the Background (fabric 1) you need 1 rectangle 7x14 inch. Then cut 1 5/8 inch-stripes from the rest. The thinner stripe above the rectangle is your emergency piece of fabric in case you have to correct something. If you have some more fabric, you should cut the stripes wider to make the sewing on the paper easier.

Für den Hintergrund (Stoff 1) braucht ihr 1 Rechteck 7x14 Inch. Dann schneidet ihr aus dem verbleibenden Stoff Streifen mit der Breite von 1 5/8 Inch. Den dünneren Streifen hebt ihr euch als Reserve auf. Wenn ihr mehr Stoff habt, schneidet den Streifen großzügiger, das macht das Nähen auf Papier deutlich einfacher.
Cut your rectangle into 2 7x7 Inch squares and cut from one corner to the other to get four HSTs.

Schneidet das Rechteck in 2 7x7 Inch Quadrate und diese in 4 HST´s.
Then cut a 2,5x2,5 inch square from the middle fabric (fabric 2) and some stripes of 1,5 inch.

Dann kommt der Mittelstoff (Stoff 2): schneidet hier ein 2,5x2,5 Inch Quadrate und 1,5 Inch breite Streifen.
Now you need the paper piecing pattern for the spiderlegs. Print it 4 times per block.

Nun braucht ihr die paper piecing Vorlage für die Spinnenbeine. Druckt jeweils 4 pro Block aus.
When I have longer or bigger parts on a pp-pattern, I fix them before sewing the other parts on it, so they can not slip away. You can also use glue, but I was a bit afraid to ruin my soft Oakshotts.

Wenn ich längere oder größere Stücke auf pp-Vorlagen habe, fixiere ich sie, bevor ich die anderen Teil ran nähe, damit nichts verrutscht. Ihr könnt das fest kleben, aber da ich hatte ich ein wenig Angst die weichen Oakshotts zu ruinieren.
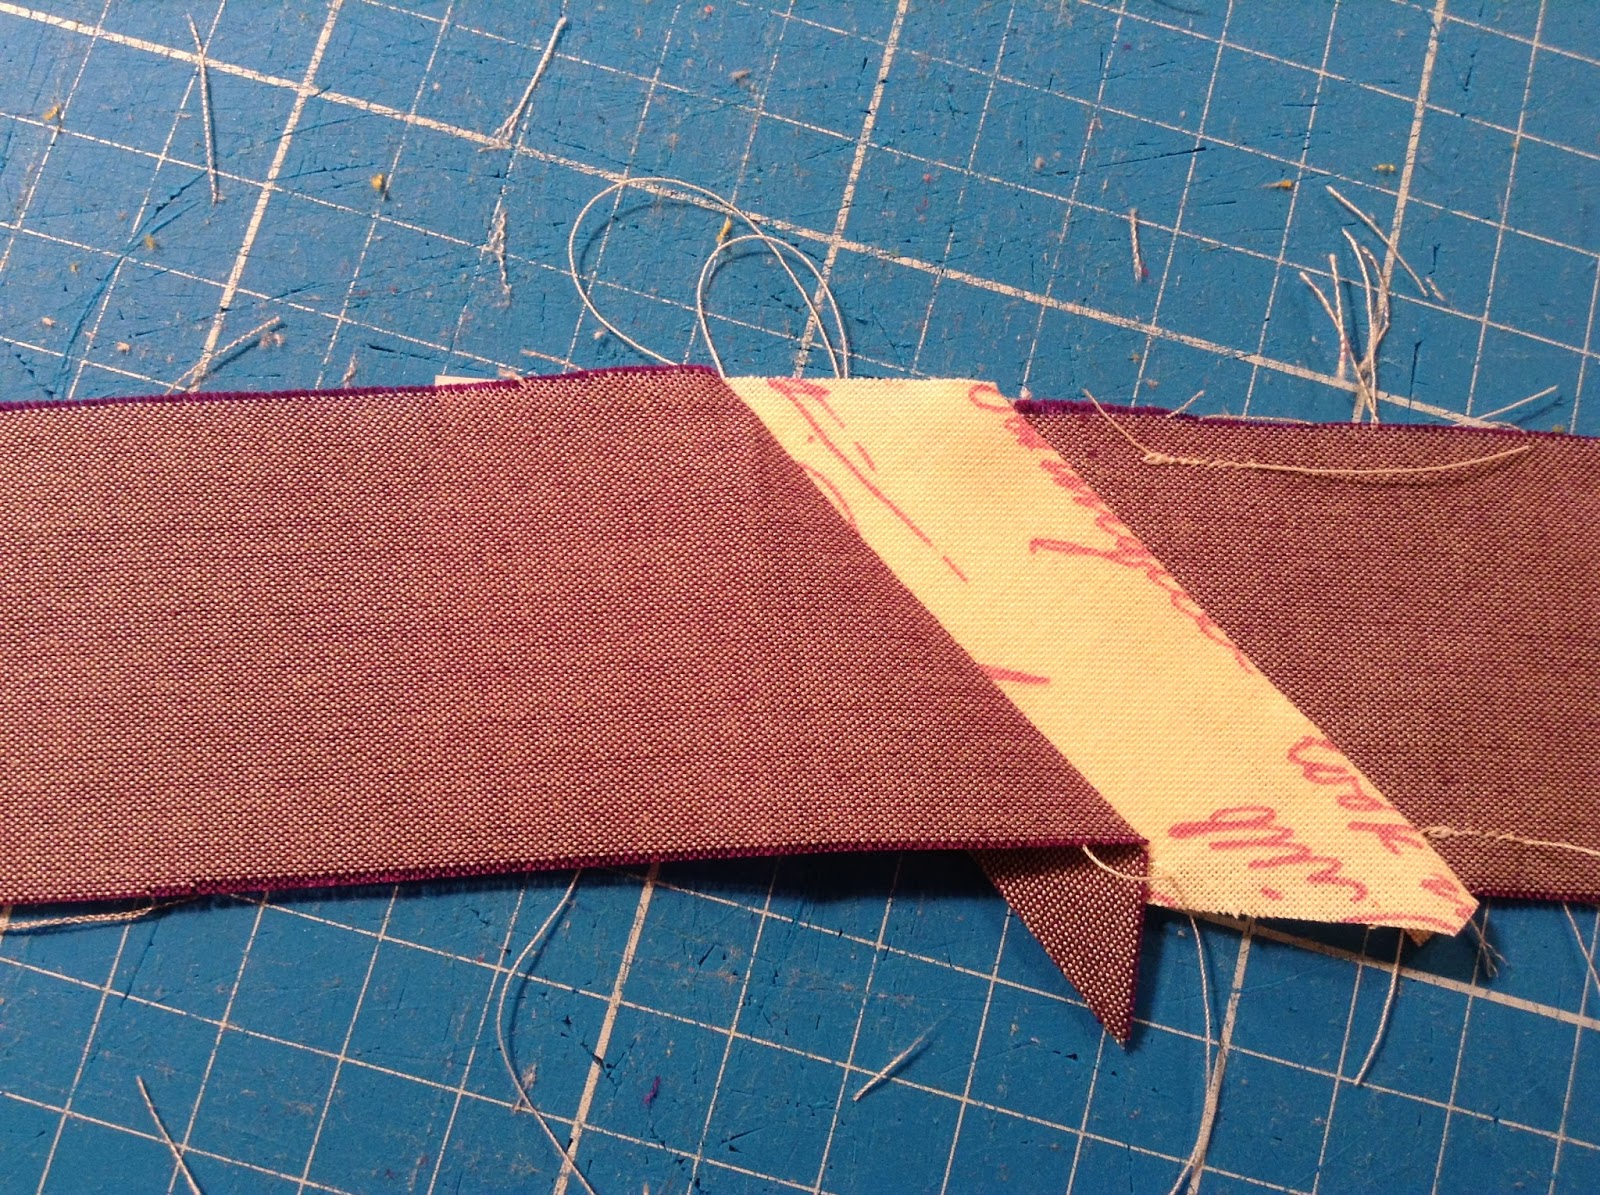
Then fold the first line and cut a ¼ seam allowance line on fabric 1. Now you see exactly, where to locate fabric 2. Do the same with the other stripes until your pp-pattern is finished. Be careful, if you have these 1 5/8 stripes, because you have to place those stripes very well, to cover the whole paper!

Dann faltet die erste Linie und schneidet inkl. 1/4 Inch Nahtzugabe den restlichen Stoff 1 ab. Jetzt seht ihr genau, wo der Stoff 2 anzulegen ist. So wiederholt ihr das ganze, bis die pp-Vorlage fertig genäht ist. Seid vorsichtig, wenn ihr mit 1,5/8 Inch Streifen arbeitet, da ihr wenig Luft für die Seiten habt!


Continue until you have eight spiderlegs. Sew two of them together, then remove the paper and iron the seams open.

Das wiederholt ihr 8 mal. Näht dann jeweils 2 Spinnenbeine zusammen und entfernt dann das Papier und bügelt die Naht auseinander.


Now sew the triangles on both sides of one spiderleg and repeat this with a second spiderleg. Spiderlegs 3 and 4 will be sewn on the sides of the middle square.

Jetzt werden Dreiecke an beide Seiten eines Spinnenbeins genäht und das ganze wird für ein zweites wiederholt. Spinnenbeine 3 und 4 werden an das kleine Quadrat von Stoff 2 genäht.

The last step will be, to sew the triangles and the stripe together to get a square on Point.

Als letzten Schritt müsst ihr noch die beiden großen Dreiecke und den Streifen zusammennähen.
I had 12 F8´s in 12 different colors and so I made 12 blocks.

Ich hatte 12 Fat Eights in 12 unterschiedlichen Farben und habe daher auch 12 Blöcke genäht.
Hope to see some spiderlegs from you too :)

Hoffe, ich seh auch ein paar Spinnenbeine von Euch :)

Have a great time!

Euch eine schöne Zeit!

Aylin ...

Thursday, May 16, 2013

Quilter´s Favorites

Geta Grama from Geta's quilting studio is one of the most amazing quilters I have ever seen. You should have a look at her amazing work! Here is her newest unbelievalbe quilt!

She is hosting a great linky party on her blog to share our quilting favorites. She made a list of interesting themes and questions for getting to know us better, showing tips and helpful tricks as well as show some free tutorials.  

Geta Grama von Geta's quilting studio ist eine der begabtesten Quilterinnen die ich gesehen habe. Man sollte sich ihre begnadeten Werke unbedingt anschauen. Hier ihr neuster unglaublicher Quilt! Sie hosted auf ihrer Seite eine Link-Party mit Fragen und Themen zum Quilten, um uns besser kennenzulernen, Tipps und Anleitungen zu teilen. 
quilter´s favorites

Any advice for a successful color scheme of a quilt ?
To me it seams the best way to follow your feelings and intuition. I sort my fabrics in colored order and not in collections so I mix the different designers. When I make swap-projects I always be myself without bending even in color scheme.

Tipps für eine erfolgreiche Farbwahl eines Quilts ?
Für mich ist es das Beste meinen Gefühlen und meiner Intuition zu folgen. Ich sortiere meine Stoffe nach Farben und nicht nach Kollektionen und mische damit unterschiedliche Designer. Auch wenn ich bei Swaps mitmache, verbiege ich mich nicht und bleibe ich selbst.

Some thoughts about thread and needles, batting, fabrics ? 
I have a very good relationship to  MY fusible interface for Bags, pouches and pillowcovers H630 and H640 from Freudenberg. Sometime I find a cheaper version of the thinner H630, but there is nothing comparable to the thicker H640. We don´t have Pellons and others here in Germany, so sometimes it´s hard to find a good alternative for the battings described in US-pattern. I tried Pellons SF 101 once and I liked it, because it just gives a light stiffness and has a wonderful touch, but it is still imported.
For my quilts I am still not at the end of my search and I hope I can find some tipps from others. Most of the battings are to thin and not warm enough.

Einiges zum Thema Faden und Nadeln, Vliese, Stoffe ? 
Ich habe ein sehr gutes Verhätnis zu Freudenbergs H640 und H630 von Freudenberg für Taschen, Täschchen und Kissenbezüge. Etwas in der Art von H630 finde ich auch manchmal günstiger, aber das dickere H640 scheint es nicht für weniger Geld zu geben. Für uns ist das echt manchmal schwierig den US Schnitten zu folgen, da wir deren Vliese nicht haben. Ich habe Pellon SF 101 ausprobiert und mag die Baumwollseite sehr, sie ist so schön weich und glatt.
Zum Füttern meiner großen Quilts bin ich mit meiner Suche noch nicht am Ende. Die meisten sind nicht warm genug und zu dünn.

Do you have free tutorials on your blog? Share the link.
You can find a tutorial for my sleeping bag pouch here. My daughter saw this pouch somewhere at a stationer´s from a known German firm and I made my own pattern and changed it a bit.

Hast du Anleitungen auf deinem blog? Teile den link.
Hier kannst du die Anleitung für den Schlafsäckchen Schlamper finden. Meine Tochter hat das in einem Schreibwarengeschäft entdeckt von einer bekannten deutschen Firma. Ich habe mein eigenes Muster aufgezeichnet mit kleinen Änderungen. 

Could you recommend a book to someone who just started quilting ? A quilting bible ?
This may sound strange, but when I started quilting 2 years ago one of my first projects was the Farmers Wife Quilt Along. I learned so much in piecing these small blocks with tiny pieces. I would not say, the book is a quilting bible, because there are no basics told in this book, but it helped me to think about colors, fabrics, sizes, cutting, piecing ....I think this is more the -learning by doing - way.


Kannst du ein Buch empfehlen für jemanden der gerade mit dem Quilten startet? Eine Quilt-Bibel?
Das klingt jetzt vielleicht merkwürdig, aber als ich vor 2 Jahren mit dem Quilten begann, war eines meiner ersten Projekte der Farmers Wife Quilt Along. Ich habe so viel gelernt beim Zusammennähen dieser vielen winzigen Teile. Das Buch ist definitiv keine Quilt-Bibel, da Basics hier nicht beschrieben werden, aber es hat mir riesig geholfen beim Verständnis von Farben, Größen, Zuschneiden... Das ist mehr ein learning by doing-Weg.

List one or two of your favorite quilting techniques and a tutorial/pattern/book where you learned about them ?
LOL - the most important discovery last year was the QAYG = Quilt as you go-technique. I was wondering how people pieced their scraps together like this untill I saw this tutorial from sewtakeahike. I was flashed about the simpleness of it - thanks for this technique - I love it!

Zeige eine oder zwei deiner beliebtesten Quilt-Techniken und die Anleitung /Schnitt / Buch woher du es gelernt hast ?
LOL - die wichtigste Technik, die ich letztes Jahr entdeckt habe, ist QAYG = Quilt as you go. Ich habe mich immer gefragt, wie die das machen, bis ich die Anleitung von sewtakeahike gefunden habe. Ich war geflascht von der Einfachheit dieser Technik - Ich liebe sie!
QAYG pouches

Do you have a favorite quilt designer ?
To be honest - I love the quilts of Kaffee Fassett. My first quilting book was from him. Not that I want to sew them all, but I really love his colors and pattern. I know, it´s light years away from what I do, but that´s the reason why I love quilters like Leanne, Anne, Mari and Debbie (and more), because they do totally different things I do and they inspire me always.

Hast du Lieblingsquilter?
Um ehlich zu sein, liebe ich die Quilts von Kaffee Fassett. Mein erstes Quiltbuch ist von ihm. Nicht, dass ich alle seine Quilts nähen möchte, aber ich liebe die Farben und Muster. Ich weiß, das ist Lichtjahre davon entfernt was ich so mache, aber das ist auch der Grund, warum ich Quilterinnen wie Leanne, Anne, Mari und Debbie (und andere) so mag, weil sie total andere Sachen nähen als ich - sie inspirieren mich immer wieder.

Do you have a favorite quilt blogger?
I started blogging 3-4 weeks ago and I also started to read blogs frequently 3-4 weeks ago, so there is not THE favorite quilt blog for me....

Hast du einen Lieblings-Quilt-Blog?
Ich habe erst vor 3-4 Wochen mit dem Bloggen begonnen und lese auch seit dem erst regelmäßig Blogs anderer. Daher habe ich noch nicht DEN Lieblingsblog...

Would you like to share one of your favorite quilts, made by you ?
Even it is not finished I love it....

Möchtest du mit uns einen deiner Lieblingsquilts zeigen?
Auch wenn er noch nicht fertig ist liebe ich ihn...
Kaleidoscope QAL

Do you have a favorite quilt, made by other quilter ?
Yes, I do! It is a quilt made by the wonderful Krista from Poppyprint. She made this gorgeous quilt called Blackbird Fly - it´s a song from the Beatles and this is my favorite of my favorites :). I sing a solo part of this song with my choir and love it!

Hast du einen Liebelingsquilt von jemand anderem?
JA, habe ich! Es ist ein Quilt von der wunderbaren Krista from Poppyprint. Sie hat diesen grandiosen Quilt mit dem Namen Blackbird Fly genäht - das ist der Songtext von einem Beatleslied, den ich im Chor als Solopart singen durfte. Das ist mein Liebelingsquilt meiner Lieblingsquilts!
Blackbird Fly
Don't Do Like Me! 
Don´t enrol in to many project at a time including others than quilt projects. My Mai till the beginning of June is totally our of controll. I don´t know why I didn´t see, that all deadlines come together at the beginning of June... I need holidays after ;-)

Mach es nicht wie ich!
Fessel dich nicht in zu viele Projekte auf einmal. Mein Mai bis Anfang Juni ist mir total entglitten. Keine Ahnung, warum ich nicht gesehen habe, dass alle meine Projekte Anfang Juni stehen müssen... Danach brauche ich erstmal Ferien ;-)

If there is something else you would like to share with us, please do it. And please tell us a little about you, we would love to know you better.
I became a quilt-maniac and love to do bags and other thing too. But my secret aim is, to sew clothes again as I did when I was a student. I will start this winter. Too many project at a time right now.
I am hosting the first German Speaking Swap on flickr in it´s second round - the third will start in September. I love participating in swaps, what really challenges me all the time and bring skills out of me I didn´t now I have them LOL.
AND I am planning a cool QAL with someone great, but it´s a secret and I cannot tell more about it now, so stay tuned ;-) ...

Ist da etwas, was du noch mit anderen teilen möchtest, dann bitte. Und erzähl uns etwas über dich, wir würden dich gern etwas besser kennenlernen.
Ich bin eine Quilt-Verrückte geworden und nähe auch total gern Taschen und andere Dinge. Aber mein geheimer Wunsch ist, endlich wieder Klamotten zu nähen, was ich als Studentin viel gemacht habe. Ich möchte im Winter endlich damit anfangen - zu viele Projekte im Moment.
Ich habe den ersten deutsch-sprachigen Swap (glaube ich zumindest) bei Flickr ins Leben gerufen, die 3. Runde startet wieder im Spetember. Ich nehme super gern an Swaps teil, was mich echt immer wieder herausfordert und mich nähtechnisch weitergebracht hat, insbesondere auch mal über den eigenen Tellerrand zu schauen.
Und ich plane einen coolen QAY mit jemand großartigem, aber das ist noch geheim, daher stäter mehr, bleib online ;-)...

Thanks for stopping by.../Danke für´s Vorbeischauen...

Aylin...

Wednesday, April 24, 2013

Sleeping Bag Pouch Tutorial / Schlafsäckchen

EDIT Aug 2015:
There is a revised free pattern on craftsy for this Pouch incl. a template.
Es gibt eine überarbeitete freie Anleitung mit Vorlage für dieses Mäppchen auf Craftsy auch auf Deutsch :).


Well, finally I made some pictures to show you how I make the sleeping bag pouch. A big thank you to my daughter who urgently needed a new pouch on a sunday evening 5 minutes before MY Tatort (a German thriller) started. Ok, it was kind of challenging what she tried to explain to me - one szipper around, looks like a sleeping bag, you can see all of your pencils... I understood nothing so we looked up the www and we found the pencil case she saw somewhere (the top left). I though over it and then started to draw a pattern.


Nun habe ich endlich geschafft, Euch Bilder von dem Schlafsäckchen Mäppchen zu zeigen. Ein großes Danke Schön geht hier an meine Tochter, die unbedingt und ganz dringend ein Mäppchen am Sonntag Abend fünf Minuten vor dem "Tatort" brauchte. Das war echt eine Herausforderung als sie versuchte, mir zu erklären, wie das Ding auszusehen hat... ein Reißverschluss rundherum, sieht aus wie ein Schlafsack, du kannst alles Stifte auf einmal sehen... ich verstand gar nichts. Also rein ins WWW auf der Suche nach diesem Mäppchen... wir haben es auch gefunden und so konnte ich es mir genauer anschauen und eine Anleitung zeichnen.

The first try was too large so I changed the pattern again and again and now I think it has the pefect size for me and my girl ;-).


Der erste Versuch war zu groß, also habe ich die Vorlage geändert und geändert, bis ich die richtige Größe laut meiner Tochter hatte ;-).


You need:
            2 fabrics 9 x 10 Inch OR
            1 endless zipper 26-28 inch
            1 zipper end
            alternative 1 "normal" zipper 20 inch - take it longer to make it more easy
            fusible interface 9 x 10 inch (I use Vliseline  H640 from Freudenberg)
            of course paper, scissors, ruler, cutter, pen (I love Frixon)


Now draw your pattern on a 9 x 10 inch rectangle - start the curve at 5 inch, lay the paper in half so the the sides will be the same.


Then cut the pattern from the exterior fabric, the lining and the fusible interface and iron it on the exterior fabric.
I show you the way you put in the "normal" zipper - take care that the zipper-end looks down to the right side of the exterior fabric:


 ...but now I will only show the endless zipper - it is much easier to handle. I pin the zipper only at two or three places but please do your way. The zipper should be hanging at the ends about 1,5 inch to put in the zipper-end. I sew the zipper first on the exterior fabric, so it makes it easier to sew the lining on it. Please be caution to place the zipper right  - the good side has to look down on the fabric!!! :


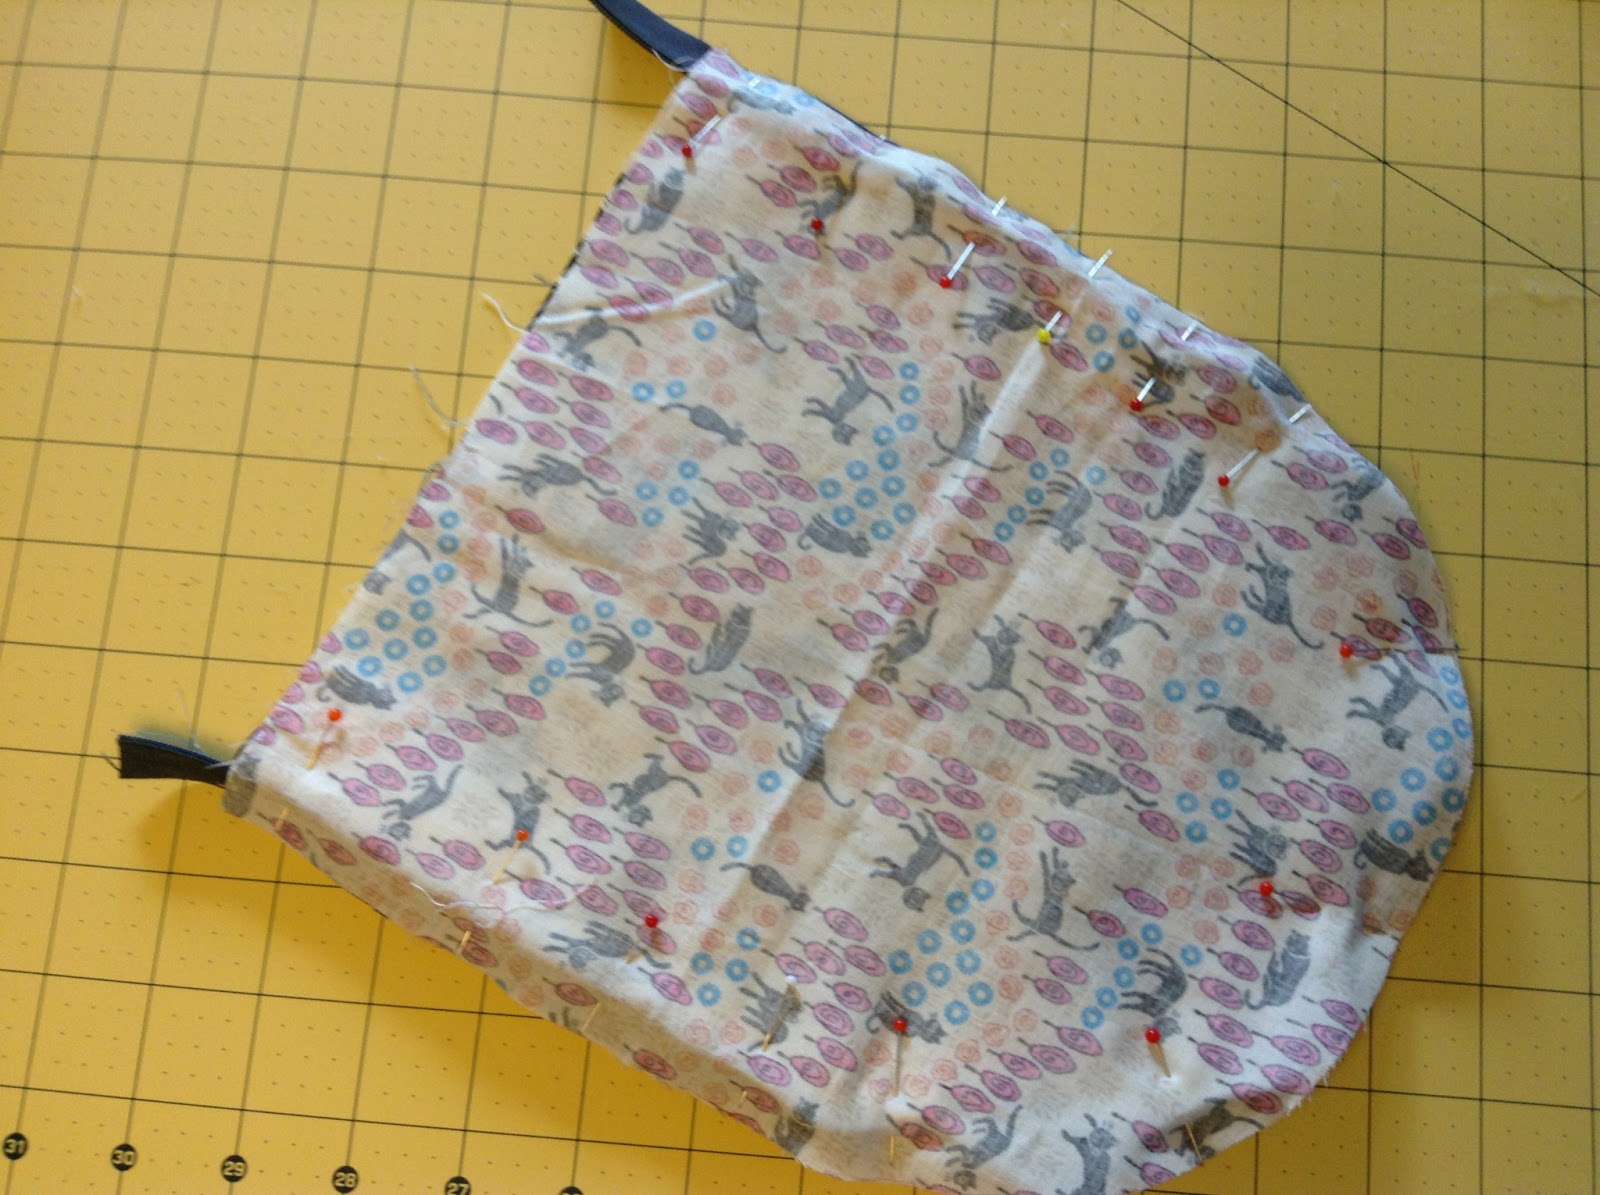
Next step: pin the lining on the exterior zipperd fabric and sew it together:


Turn it around and topstich along the zipper:


Now you will place the zipper-end - some of you maybe can do that alone - not me... I need one more hand here:

So you are almost finished. Turn the pouch again back to the lining side to sew the end together. You can use a zig zag scisser at the end, but I like it more to make my own bias tape from the lining fabric (ap. 1,25*5,5 inch). Iron it doulbe as a bias tape and sew it on the end:


Edit (Nov 2014): I skip the step  with the bias tape nowadays and only end with zig-zag to fix the bottom...


That´s it - thank you so much for following my tutorial :)

Aylin...


Edit Nov 2014: I opened a new linky to see all our lovely sleepingbag pouches..... Ich habe eine Linky eingerichtet, damit wir alle unsere süßen Schlafsäckchenmäppchen sehen können.